In today’s digital age, email is the lifeblood of professional communication. But let’s be honest—managing a cluttered inbox can feel like battling a never-ending tide of messages. This is where Gmail filters come in. These nifty tools can transform your chaotic inbox into an organized, well-oiled machine, enhancing your workflow efficiency. If you’re eager to understand how to use Gmail filters to streamline your daily tasks, read on.
Why Filters Are Essential for Email Management
It’s hard to overestimate the importance of email filters in maintaining an organized and efficient workflow. With the sheer number of emails received daily, manually sorting through them is not just impractical—it’s impossible. Filters automatically categorize emails based on criteria such as sender, subject, or keywords. This automation saves time and reduces the risk of missing important messages.
- The Hidden Costs of an Unsorted Inbox
An unsorted inbox doesn’t just cause stress; it can lead to missed opportunities and overlooked tasks. Studies reveal that professionals spend about 28% of their workweek reading and responding to emails. Imagine reclaiming a chunk of that time simply by setting up effective filters.
- Enhancing Workflow Efficiency
With Gmail filters, you can automate routine tasks like archiving, labeling, or forwarding emails. This leaves you with more time to focus on high-priority tasks. By using filters, your workflow becomes smoother and more efficient, allowing you to work smarter, not harder.
- Setting the Stage for Success
Before setting up Gmail filters, take some time to identify recurring patterns in your emails. Understanding your typical email flow will help you determine the most effective filter criteria, making your filtering system robust from the start.
Creating Custom Filters
Creating custom filters in Gmail is straightforward and can significantly improve your email management. Whether you want to sort out promotional emails, prioritize client messages, or archive old newsletters, custom filters can handle it all.
1. Step-by-Step Guide
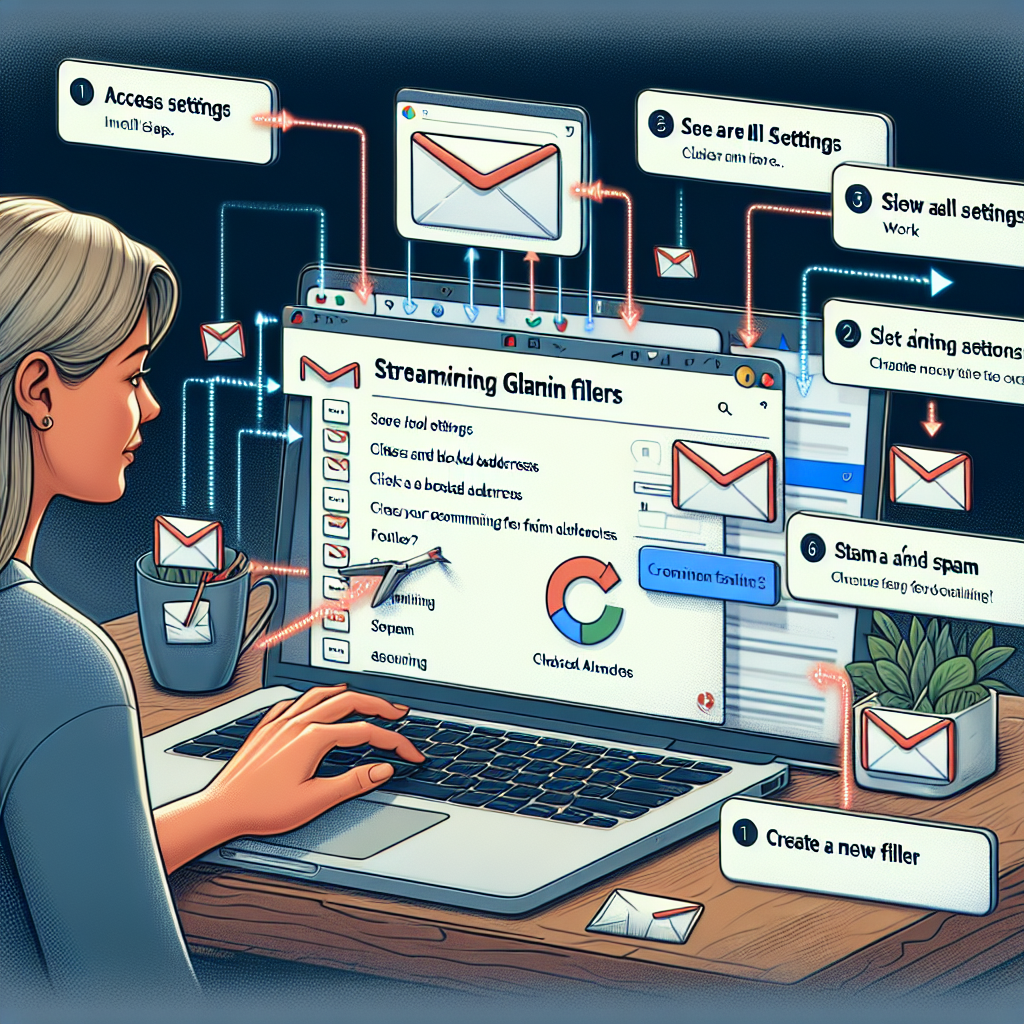
To create a custom filter, follow these steps:
- Open Gmail and click on the gear icon to access Settings.
- Navigate to the “Filters and Blocked Addresses” tab.
- Click on “Create a new filter.”
- Enter your criteria such as a specific email address, subject line, or keyword.
- Choose the actions you want the filter to perform, like archiving the email, applying a label, or marking it as read.
- Click “Create filter” to save your settings.
2. Choosing the Right Criteria
The effectiveness of your filters largely depends on selecting the right criteria. Consider using a mix of sender addresses, specific keywords, and subject lines to capture the emails you want to filter accurately.
3. Testing Your Filters
After creating your filters, it’s crucial to test them. Send test emails to ensure that your filters are working as expected. This step will help you catch any mistakes and fine-tune the filters for optimal performance.

Automating Email Sorting
One of the most powerful features of Gmail filters is their ability to automate email sorting. This automation can help you maintain an organized inbox effortlessly.
- Labels and Folders
Gmail uses labels instead of traditional folders, but the concept is similar. You can create labels for different types of emails, like “Work,” “Personal,” or “Projects,” and apply filters to automatically label incoming emails.
- Archiving and Deleting
For emails that you don’t need to read immediately but want to keep for future reference, archiving is a great option. Conversely, filters can also automatically delete spam or irrelevant emails, keeping your inbox clutter-free.
- Marking and Forwarding
Gmail filters can also mark certain emails as read or star them for easy identification. Additionally, you can set up filters to forward specific emails to another address, ensuring that important messages never go unnoticed.
Examples of Useful Filters
Here are some practical examples of Gmail filters you can set up to streamline your workflow:
- Sorting Newsletters
Create a filter for emails with the word “unsubscribe” in the body to automatically label and archive newsletters. This keeps promotional emails out of your main inbox while still being accessible.
- Prioritizing Client Emails
For client communications, set up a filter using the client’s email address. Apply a label like “Client” and mark these emails as important to prioritize their visibility.
- Managing Project-Related Emails
If you’re working on multiple projects, create filters that label emails based on project-specific keywords. This helps you quickly locate all communications related to a particular project.
Adjusting Filters Over Time
Your email needs will evolve, and so should your filters. Regularly reviewing and updating your filters ensures they remain effective and aligned with your current workflow.
- Periodic Review
Schedule a monthly review of your filters to assess their performance. Delete any filters that are no longer useful and tweak existing ones to better match your current needs.
- Incorporating Feedback
Pay attention to any inconsistencies or issues you encounter with your filters. Use this feedback to adjust your filter criteria and actions, improving their accuracy and effectiveness.
- Staying Flexible
Be prepared to adapt your filters as your email habits change. The more flexible and responsive your filtering system, the better it will serve you in the long run.
Conclusion
Mastering Gmail filters can significantly enhance your workflow efficiency, saving you time and reducing stress. By automating email sorting, prioritizing critical messages, and regularly updating your filters, you can maintain a clean and organized inbox effortlessly. Ready to transform your email management? Start by setting up your first filter today and experience the difference.
Happy filtering, and here’s to a more efficient, organized inbox!


